Thursday, December 31, 2009

Craft: My first quilt!

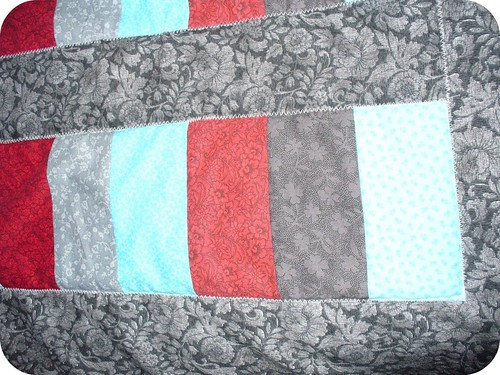
I've always wanted to make a quilt but never actually did it. For my birthday in September. N bought me three quilting books so I talked a friend into making a quilt with me. We picked out a simple pattern for a lap quilt and got to work.

It was fun picking out fabrics. I decided to make mine grey, blue and red to match our living room. I didn't take any photos while making it - I need to get better at that. :-\

Making the quilt took a while - I think we started the quilts at the end of September and finished them on December 19th - very very late at night. Our goal was to finish them before Christmas and we did! :-)

I'm happy with how it turned out and it looks great in my living room!

I quilted along the edges of the coloured strips. I used my sewing machine and a zig-zag stitch.

The quilt was a great pattern for beginners and I would definitely make the same one again.  The pattern came from Quilting 101: A Beginner's Guide to Quilting - a great book for new quilters.

Tuesday, December 29, 2009

Craft: Tree painting

I really wanted a painting of a tree somewhere in our house. I looked at canvases - I planned on doing three tall canvases in a row  and painting the outline of a tree. I had no idea how expensive canvases were and wasn't sure that I wanted to spend a lot of money to buy three when I wasn't even sure I could paint a tree on them.

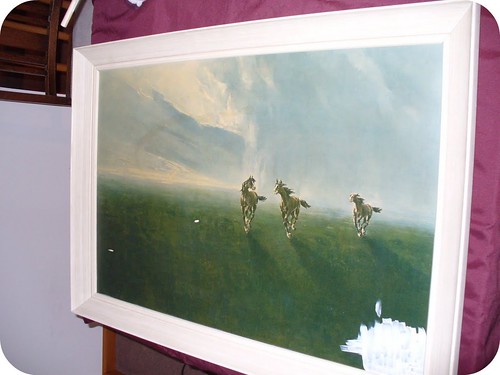
I was at a thrift store and saw this.


It was only $5.99 (plus I had a coupon for 20% off) so I figured i could buy it, paint over the horses and then paint a tree on it. You can see the paint in the corner when I started painting it.

N helped and painted over most of it. It took about 3 layers and more work around the edges. We used rustoleum heirloom white.


After one coat.


The background is finished!


Originally I wanted to do the outline of just one tree and couldn't decide if I wanted to only do part of the branches or the entire tree, centered in the frame. In the end I decided that the frame was too wide to do one tree so I found an image of a few simple trees in a row.

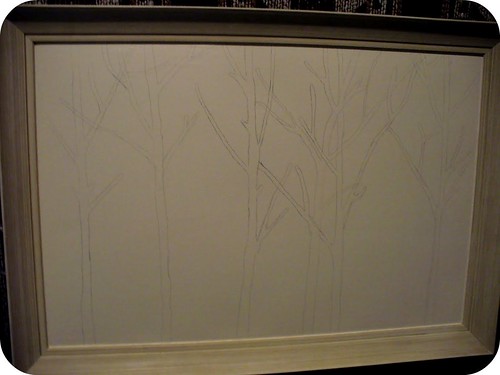
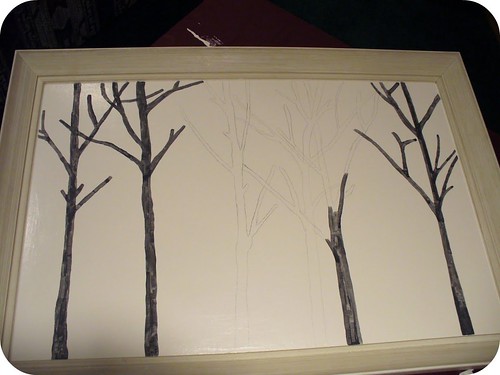
We projected the image onto the frame.

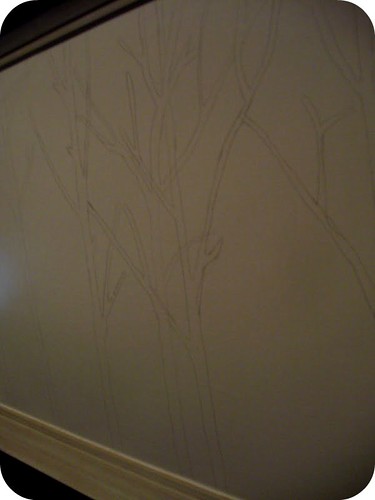
Then N and I traced the outlines of each tree with pencil.


It didn't take very long to trace the trees but it was tricky making sure not to block the projector. We changed a few parts of the trees - removed branches, added branches, etc.  Next we painted the trees with delta ceramcoat in charcoal.

Three layers of grey paint later...

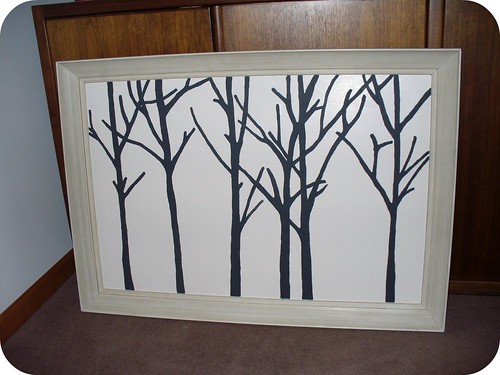
The finished project!


I am very pleased with how it turned out and am excited to see it hung on the wall!

We already had the background paint (rustoleum heirloom white) so we just had to buy the frame/painting ($5.99 plus 20% off = $4.80), the grey paint (delta ceramcoat, charcoal) that was about $2 at Michaels and a few paintbrushes for about $4. Total = $10.80.

We are going to hang this up in our living room - I'll be sure to post a picture of it hung on the wall.

Supplies: Frame, paint brushes, paint, projector
Cost: $10.80

Update: 2/2/10
The tree painting has finally been hung in our living room!
Featured on:
CraftGossip


Thursday, December 24, 2009

Craft: Christmas Decoration

A Christmas Craft.

I wanted to make a simple decoration to set on the table for the holiday brunch and Christmas dinner that we are hosting.

A PDF with the red and green patterns can be found at the bottom of this post.

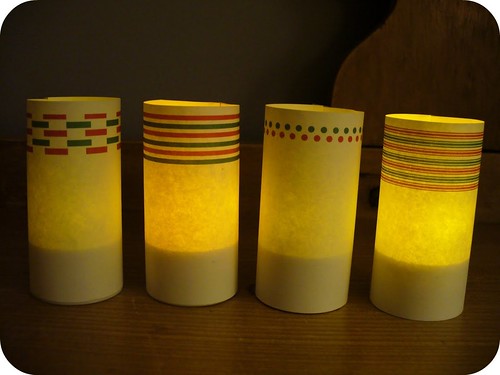
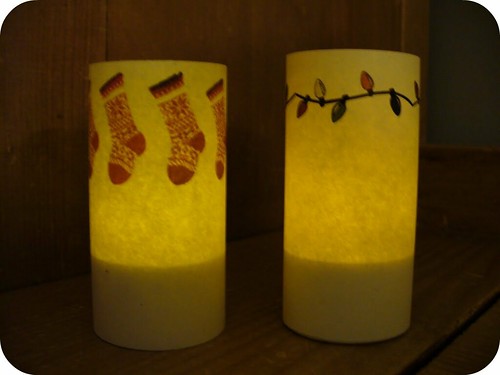
I had a bunch of battery-operated tea lights so I decided to put them to use and this is what I made.


Here you can see the difference with one light off and one on. The battery-operated tea lights that I used flicker and it looked really neat.

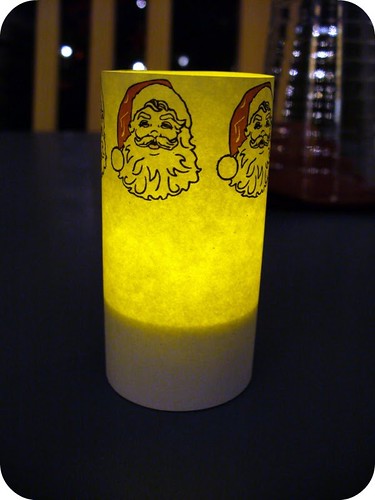
A few close ups.


 I made the paper designs in publisher. In a landscape document I split the page into three sections. After finding various images (Santa, stocking, Christmas lights, a tree and an ornament) and repeated the image across the document in each section. I also created lines in red and green and used different line settings. Explaining things in words is not my forte so maybe this picture will help. :-)

I was able to make six candle covers per page. I cut along the light gray lines and then cut each strip in half.

I trimmed down the paper as I taped it around the candle. To get the paper around the candle I just rolled the paper around the candle and taped the edges on the inside.

It only took tape and two pieces of paper - a very cheap decoration since I already had the tea lights.

They were a hit at our holiday brunch. :-)

Supplies: Paper, battery operated tea-lights, tape, scissors/paper cutter
Cost: $0 (I already had all of the supplies)

Updated 1.12.2010
You can download a PDF for these candle wraps!

Wednesday, December 23, 2009

More Christmas Decorations!

Christmas lights. We had fun putting lights up the weekend after Thanksgiving. I love that you can see the red and green felt ornaments in the window. You can't tell from the picture but along the sidewalk we have light up snowflakes.

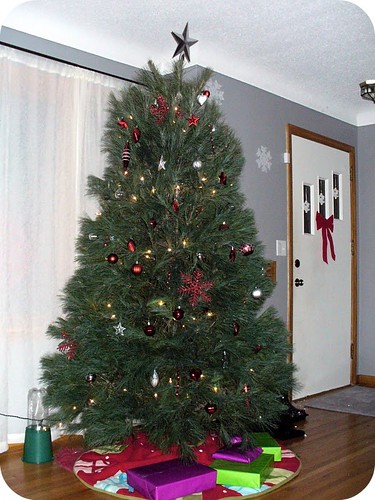
Christmas tree. We normally have a mix of random ornaments but we decided this year to just use our red and silver ornaments.


Christmas tree. A close up of our tree. I love the red glittery snowflakes.


Living room. Ignore the chairs at the bottom, we had to set up a table for 10 in our living room for a family brunch. I  hung foam snowflakes on the wall around the room. This is definitely our most decorated room. :-)


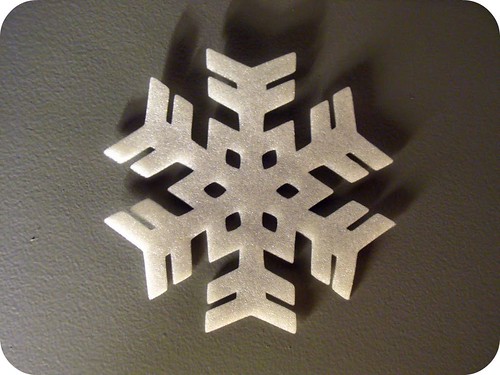
Snowflake. A closeup of one of the snowflakes from the living room.


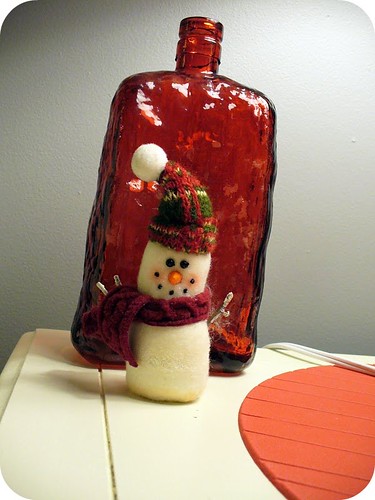
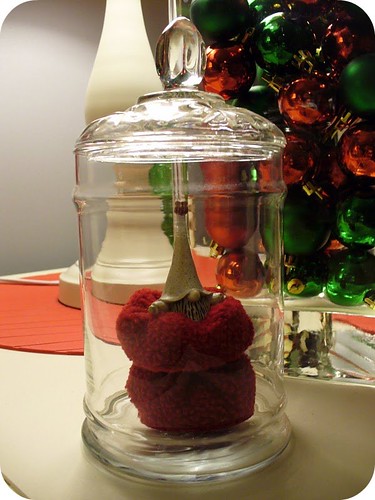
Decorations. Here are some of the decorations on our end tables. I just found the clear glass container at a thrift store for 39 cents - only 39 cents! I was so excited about it and wanted to use it right away so I put the little gnome man inside of it.


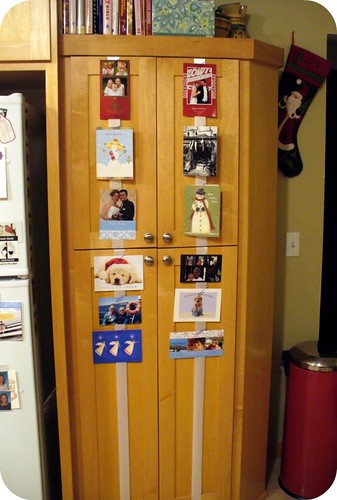
Christmas Cards. I wanted to display out Christmas cards so I took white ribbon I had in my craft supplies and put in on our cupboard doors in the kitchen. I used coloured paper clips to hang the cards. I think it turned out great.

Gingerbread Casa. Each year we make a gingerbread house with N's family. This year ours features pac-man in the front yard.


¡Feliz Navidad!

Christmas Decorations!

Christmas is my all time favourite holiday and I love decorating for it! I was excited to decorate our casa this year.

Here are the decorations in our living room - it usually has red and blue accents but for Christmas I just took out the blue accents and added green.

I bought red and green ornaments at the dollar store and put them in an extra vase that we had. The red vase was already in the room and I removed the blue vases that had been on the table and put a green vase on it.


 I bought the green and red tea light candle holders at Target for $1 - there are usually red and blue candle holders. The nativity set is a set that my godparents bought for me - they get me a new piece each year.


We don't have a fireplace so we bough a stocking holder - we purchased this one. I bought the big felt ornaments at the dollar store. I also bought four little ornaments that we put in the corners of the small windows but I put them up after taking this photo.

I put felt ornaments in the upstairs dormer window and the front bedroom window as well. They look really nice from the outside and can even be seen behind the closed curtain in the living room.

I'll end my post with some Christmas cookies!

Tuesday, December 22, 2009

Being Green: Low flow shower head

One easy way to decrease water usage is to install low-flow shower heads. I purchased and installed a Waterpik Eco Flow shower head. I bought the Eco Flow 5 Mode. It uses 1.5 gallons of water a minute whereas our old shower head used 2.5 gallons per minute. This saves water and in turn save you money on your water bills - so it's a plus for you and mother earth. :-)

I've only used it once but so far I'm happy with it. It has five spray modes - one is a pulsing massage and feels great. It also has a "pause" function where the water essentially stops flowing (minimal water still comes out) so that you can pause the water while shaving.

It was very easy to install and came with detailed instructions. I changed the shower head on my own and had no issues.

Monday, December 21, 2009

First blog post!

I really enjoy reading blogs about decor, house projects, cooking, crafts and being green so I thought I was start my own - one that includes all of these things.

I plan on posting tutorials and photos of various crafts and house projects that I do; posting recipes that I try and what I think of them; post ways that I try to be green; and whatever else comes to mind.

LinkWithin

Related Posts Plugin for WordPress, Blogger...