Showing posts with label decor. Show all posts

Friday, July 20, 2012

DIY Prayer flags!

After my sister told em she liked the prayer flags I had in my yard and showed me a set that she liked on etsy, I decided to try my hand at making her a set.


Supplies:
  • Material (red, green, blue, yellow)
  • Fabric marker
  • Thin rope
  • Sewing machine


Since the set she had admired on etsy included images of a heart, a tree, a peace sign and the earth I decided to find images of those to use. I searched on google images and came up with these images: peace sign, tree, heart with spiral, earth.

I used the glass from a frame to trace rectangles onto the fabric and cut the material. I decided to make three of each colour. 

Using my laptop as a light box and traced the images onto the material with a black fabric marker...

 ...and then filled in the images.
Colouring finished!
 Next I folded the top over and ironed it.
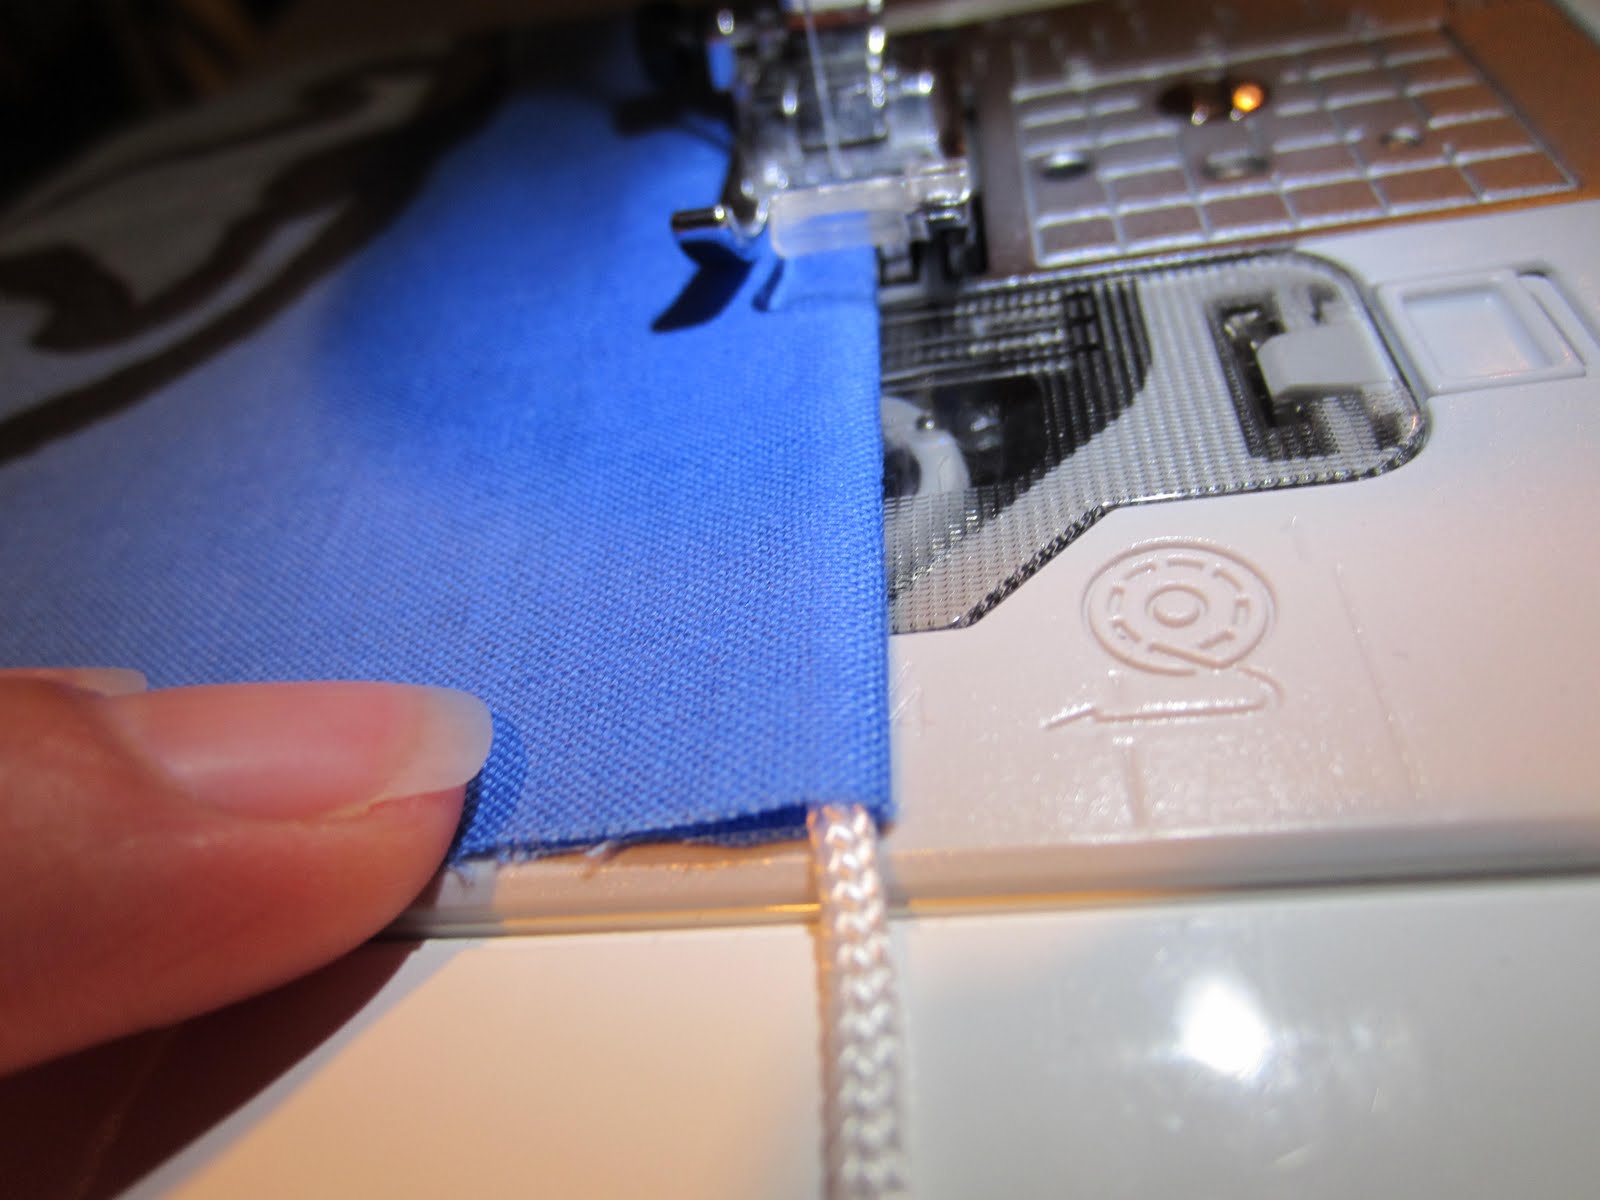
 Putting the rope at the very top of the fold, I slowly sewed each flag onto the rope. I decided to actually sew on the rope so that the flags would stay evenly spaced and not move around.
Admittedly, the sewing wasn't perfect (hey, it was my first time sewing in almost a year!) but when they are hanging up you can't tell.
 The flags are finished!
I quickly hung them up on my wall for a quick picture. If mi hermana hangs them up at her house I'll see if I can talk her into sending me a better picture to post.


Tuesday, July 17, 2012

Memories from Spain

While in Spain I tried to pick up a few things that I could put around my casa to remind me of my time there.

Here are a few things I brought home.

Metro photos

I lived in the La Latina neighbourhood and close to Puerta del Sol.

Tile replicas of the street signs.

Cava Baja was a road right near my house and Puerta del Sol is one of the main plazas in Madrid.
I lived near Plaza Mayor and went there frequently. Paseo del Prado is one of the majour roads and home to the museum El Prado.


Tibetan prayer flags. These definitely aren't Spanish but I bought them in Alcala de Henares and love the look of them hanging on our fence.


The little man is a wind up toy of La Guardia Civil and the rooster was purchased in Lisbon, Portugal.

I bought the polka dotted bull from a shop near my apartment in Spain. The jellyfish isn't from Spain but I thought I'd add it to the windowsill to join the rooster and bull.


Tuesday, August 16, 2011

Life preserver pillow

My mother-in-law's birthday was at the beginning of August and we made her a life preserver pillow. 

Her dad had owned a sailboat named the Scarlet Queen and we based the pillow off of the original life preserver that was on the boat. 
Off to the store we went to buy a cream coloured fabric and rope. I used extra fabric from my amiga's wedding date pillow for the tan bands and I already have a red fabric marker.

We bought 20 inches of fabric and magically we have a fan with a base that was just under 20 inches in diameter. So we put the fan on top of it and I traced it.
Then we found a bowl that we thought looked good, centered it and traced that. 
Then I cut out the two circles and pinned them together (photo includes tan fabric and rope).
After a lot of figuring out - we realized that we needed to keep the inner circle open so I sewed all the way around the outer circle. 
And then flipped it right side out. 
And then realized I needed to pin the inside circle. :-) So I flipped it inside out again and pinned around the edge.
 Then I hand sewed the edges....
...and left two openings (on opposite sides) for stuffing.
Next I drew on the lettering. I used my laptop as a light board again and lightly traced the letters with my red fabric marker. After I finished tracing I put a piece of plastic in between the two layers (shoved through one of the openings left for stuffing) and coloured in the letters.
Done with the words!
I stuffed the pillow and hand sewed the two openings. 
Next up - the tan bands and rope. 
 
I cut the tan material. I'm not sure how long they were (I estimated and trimmed them down as I went) but I want to say they are 2 1/2 inches wide. And ironed 1/4 of an inch in on either side. Then I sewed along the two long edges. 
 I wrapped the band around the pillow (I wasn't too picky about where it was because I could move it around after it was sewn) and pinned the edges.
 Then I sewed the edge. This was pretty tough and I'm sure there may have been an easier way....but this worked for me.
 
 As you can see it's pretty lose around the pillow but after I flipped the band right-side out I sewed another straight line so there would be a small opening for the rope. Then it fit snugly around the pillow.

I used a safety pin on one end of the rope to help feed it through.
 After threading the rope through all four bands, I trimmed the rope and taped/sewed the two ends together. Then I pulled the rope so that this part was hidden in one of the loops.
The pillow is done!!

Again, just for reference - the original life preserver:
And the pillow:
Honestly, I was amazed at how well it turned out. I love when I have an idea in my head and when I'm finished it is as good or better. This was definitely better than the one in my head. The rope was an afterthought and I'm so glad we added it.

A close up of the details.
 And another photo of the pillow.

Friday, July 29, 2011

I heart Spain

I had two pillows in my living room that needed new covers. First I made a peace sign pillow cover and meant to make this one soon after. Other projects have been getting in the way but I finally found time to make the second cover!

Supplies:
-Fleece 
-Felt
-Zipper
-Needle/thread


First I cut the fleece material down to size.
And sewed on the zipper.
Then I printed off a map of Spain and traced it onto the grey felt.
I cut out Spain and cut out a small heart from my red fleece.
I hand sewed the heart onto Spain.
I tried sewing it near where Madrid is located. It's...kind of close. 
I pinned Spain onto the blue fleece.....
....and hand sewed it on using grey thread.
 
All that was left was sewing the edges of the pillow case and shoving the pillow in.

Finished!  


LinkWithin

Related Posts Plugin for WordPress, Blogger...