Thursday, January 7, 2010

Green: Laundry

Here are some simple steps that I take to green my laundry. I'd love to hear your tips - please share them in the comments section!

1. Vinegar!
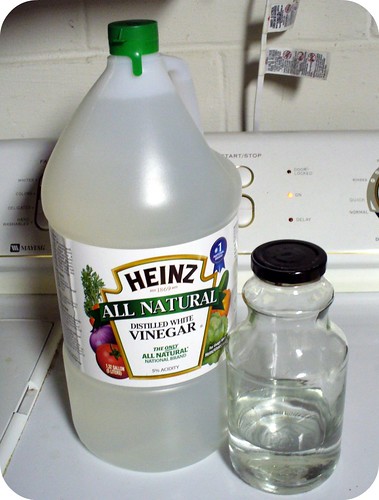
I use vinegar as a fabric softener. You can either put it in a downy ball (fill to the line) or you can pour it into the spot for fabric softener in your washer. I put in about 1/2 a cup of vinegar into each load. Don't worry about trying this - my clothes do not smell like vinegar! :-) I buy big containers (for cheap!) at Costco and pour it into a smaller container that I keep in my laundry room - it's much easier to pour from the smaller container.

2. Hang Dry Clothes
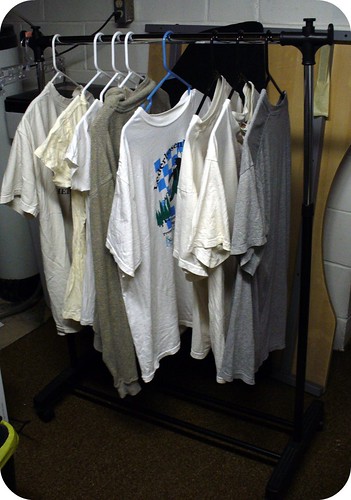
Right now I don't hang dry everything but I'm going to make an effort to do so. I currently hang dry almost all of my clothes but machine dry my pajamas, t-shirts and all of N's clothes. I bought this rack at Target to hang dry my clothes. I've had it for over 5 years now and have never stopped using it.


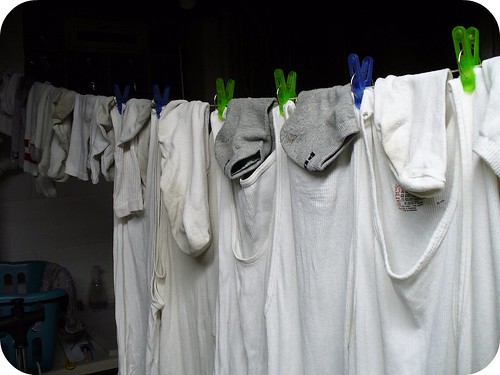
Just this week I made a clothesline to hang dry smaller things like socks. I attached a rope to one wall of my laundry room and then hammered a nail into a wooden beam on the opposite wall.

I stretched the rope across the room and made a loop at the end. This way I can take down the rope when I'm not using it. I used this for the first time last night and it worked great. I had some clothes pins for undershirts and I just hung the socks over the rope. Last night was the first laundry load (first of many!) that I did without using the dryer at all. We can use this clothesline for napkins, dishtowels and rags as well.

As a reminder to hang dry clothes I taped this picture on my dryer.


3. Green detergent
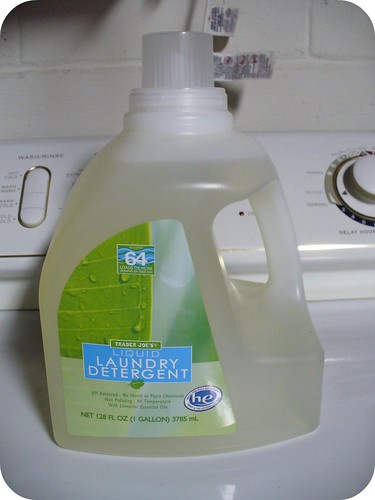
I make sure to buy green laundry detergent - without all of the chemicals in regular detergent. I look for detergent that is phosphate free - this is better for me and for the environment. I am currently using a detergent that I bought from Trader Joe's.


4. Wash in cold water
The only loads I ever wash in hot water are towels, cloth napkins, sheets and rags. I wash everything else in cold. This means that less energy (and money) is spent heating water.

5. Wash on "quick load"
With my washer I can do either a quick load or a regular load. Unless I'm washing a really dirty load, I wash my clothes on "quick load". This has less rinse cycles so it uses less water.

6. No dryer sheets
Dryer sheets are loaded with chemicals that are bad for both you and the environment. Another option is to use dryer balls - you can buy them at most stores (Target, Bed Bath and Beyond, etc.). There is debate as to the use of the plastics in dryer balls (see here) so another option is wool dryer balls. There are many people that sell these on etsy.com.

Wednesday, January 6, 2010

Craft: Coaster

This is my first try at making a coaster. I'm going to use this one in my craft room and try to make a nicer set to go in our living room later.

Supplies: Leftover fabric and batting from quilt, sewing machine, something to cut and measure material/batting.
Cost: $0 (I already had all of the supplies)


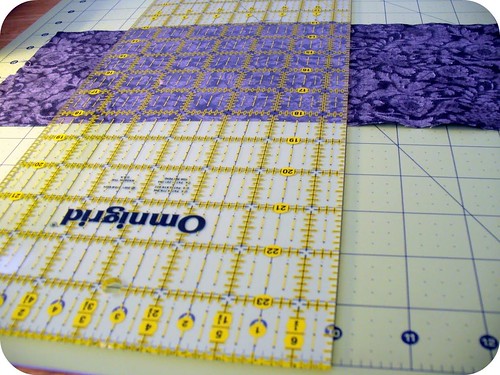
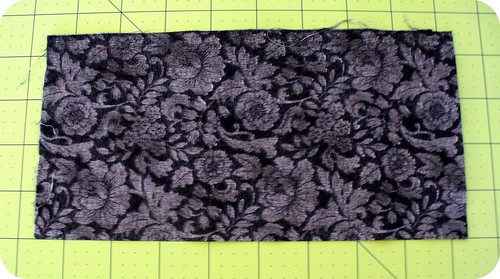
I cut the fabric into a 10'' by 4 1/2'' piece.


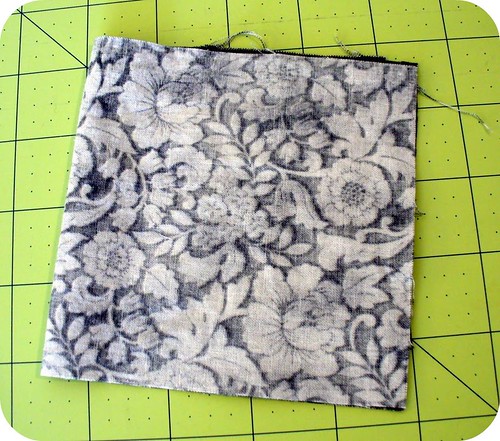
I folded it over - right sides facing each other.


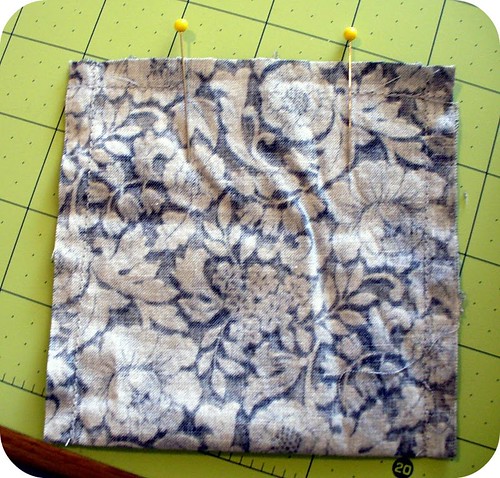
Then I sewed around the edges, leaving a space for me to flip it right-side out. I sewed 1/4'' away from the edge. The space between the pins is the area I left open to turn it right-side out.


I cut a piece of batting to fit. I first cut the piece to be 4'' by 4'' but had to trim it down a little bit.


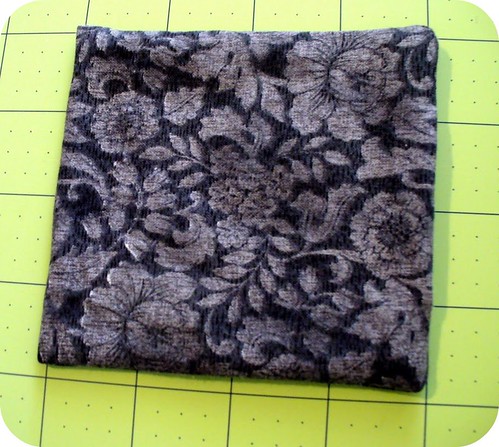
I flipped the material right-side out. To get the corners popped out all of the way I used a chopstick - chopsticks work great for this.
 

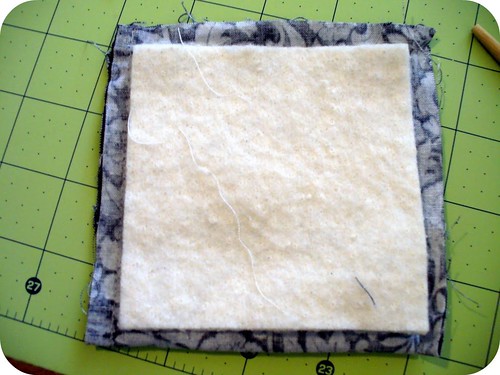
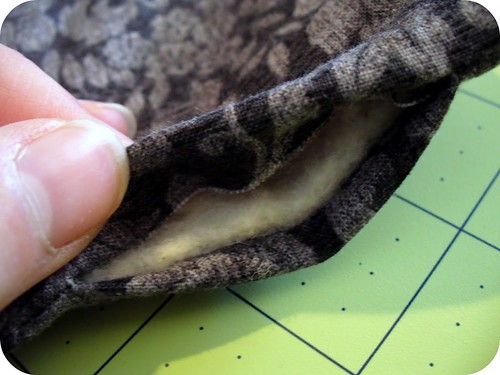
Then I put the batting inside and made sure it was flat and reached each corner. The chop stick was helpful for this as well.


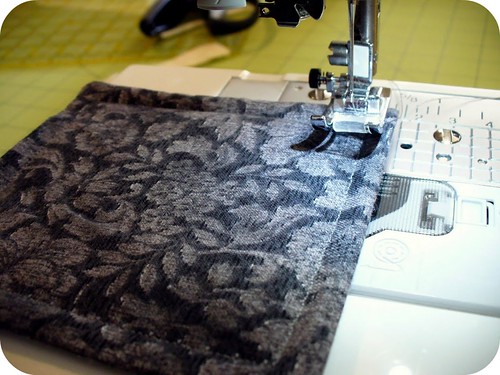
Next I tucked the extra material in on the part that was left open. Instead of hand sewing this shut I just sewed along the edges of the entire coaster and this closed the seam. Just make sure to sew close enough to the edge.
 

After I was finished sewing it together I decided it might look neat to quilt the top of it. I ended up making a pattern of triangles. The picture isn't the best but you can kind of see the light coloured thread that I used to quilt it.
 
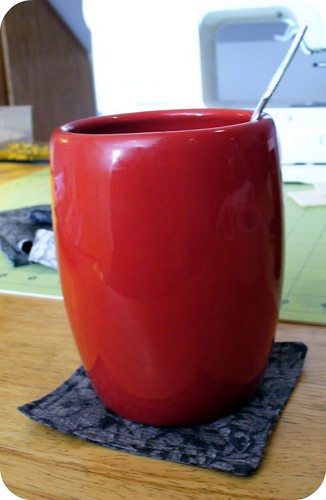
Here is a photo of the finished coaster in action:


Tuesday, January 5, 2010

Craft: Leg warmers

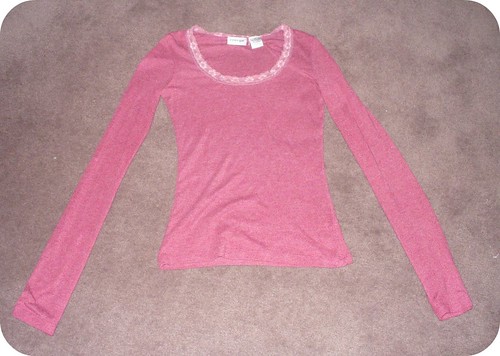
I wear leg warmers almost daily during the winter. I have a few pairs but they are all black and/or grey. I wanted a something with colour to wear with skirts and boots. I dug through my stack of clothes that I don't wear anymore and found this shirt. I thought the sleeves would work for the leg warmers and I could even use the lace around the collar to go at the top and make them dressier.

I made sure that the sleeves fit around my leg - they did. Perfect.

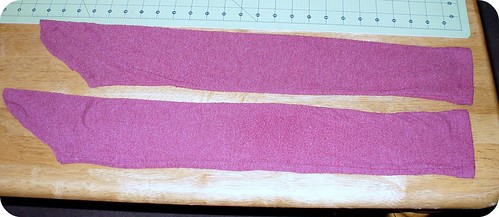
I cut the sleeves off of the shirt - right at the top seam. The nice thing about using sleeves is that I only had to sew on one end - the seam on the bottom was already finished and they were already sewn together to go around my leg.


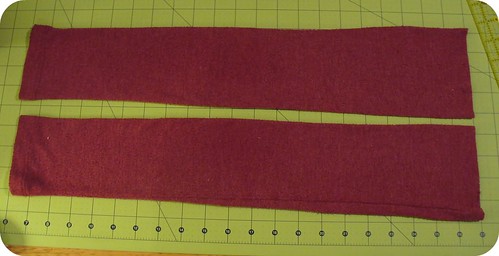
I cut the uneven edges off and made sure they were both the same length.

 
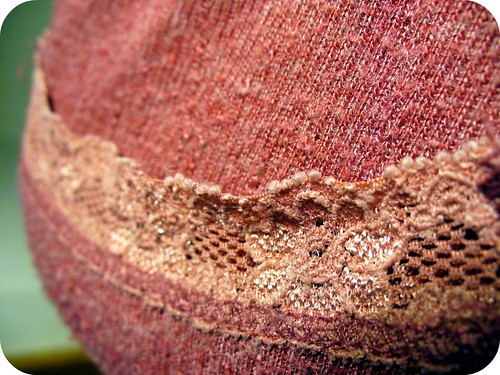
Then I got to work getting the lace off of the shirt. This was definitely the most time consuming part


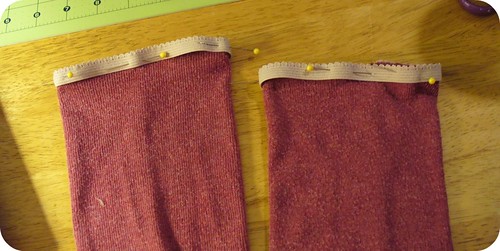
I wrapped the elastic around my leg to figure out how long it needed to be and trimmed both pieces down to the right size.


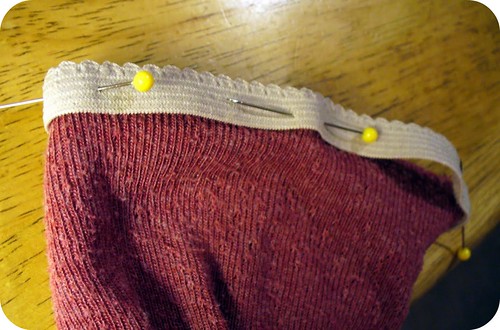
I flipped the sleeves inside out and pinned on the elastic.I lined the top of the elastic up with the top of the fabric.


Then I sewed on the elastic.


I realized I didn't have matching thread to sew on the ribbon so that will have to wait until I have time to go to the store.

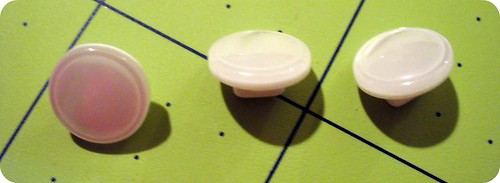
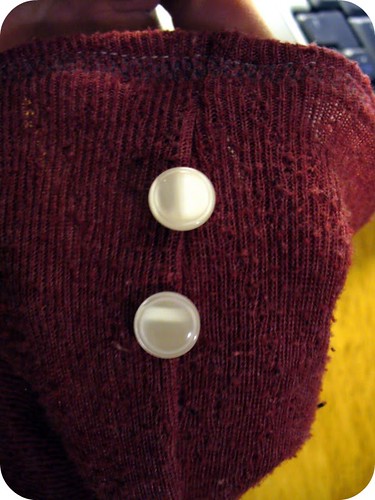
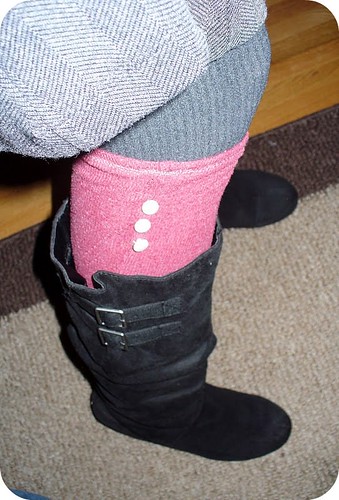
I added the buttons - three to each leg warmer.


Then I tried them out with my boots!


I love how they turned out and I'll post an updated photo as soon as I add the lace - probably sometime this weekend.

Supplies: Old shirt, elastic, sewing machine, seam ripper, scissors, needle and thread, six buttons (from an old shirt).
Cost: less than $4 (thread)

Monday, January 4, 2010

Opinions needed

N finished making one frame for the ceiling tiles that we are going to hang in the living room. The frame is exactly what we wanted and now all that's left to do is paint it. Now that we just have that one step left - we can't decide on a paint colour.

What do you think? Please leave your opinions in the comment section. Thanks! :-)

Options: Dark grey, white, heirloom white (off-white) or another colour

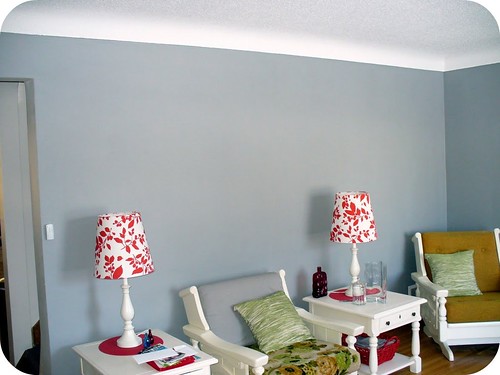
The walls in the room are painted a medium grey colour. The furniture is painted heirloom white (off-white). The room is accented with red (eventually we are going to make red cushion covers) and robin's egg blue.

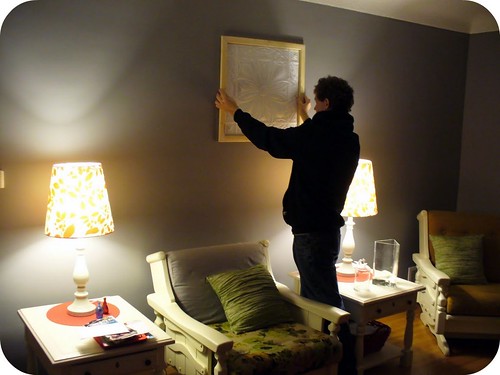
Here is a photo of the room and where the frames will be hung.


This gives you a better idea of the colours in the room.


The tile is white so I think it might look weird with the frame painted heirloom white (off-white). I think that it would look funny if the frame is painted white because the furniture, curtains and 2 other art pieces are all off-white, not white. My other thought was painting the frame dark grey. But I wasn't sure if that would be too dark...? N thinks we should paint it heirloom white (off-white) but I'm not sure if that would look weird - an off-white frame around a white tile. The lampshades are white with red flowers. The green throw pillows won't be there much longer - I'm going to make new covers that are red, grey and blue.

Here is the tile up against my tree painting - the background was done in heirloom white and the trees are the kind of dark grey I was thinking we could paint the frame.

So what do you think? Grey? Heirloom white? White? Another colour?

Thanks for the help!

Sunday, January 3, 2010

Things I'm working on

I have a few things I'm working on and will be posting about once they are finished.

Art for living room
I have three decorative plastic tiles that I want to hang in our living room.


N is working on making some frames and we plan on hanging them here -


Ignore the mismatched cushions - we're currently looking for red upholstery fabric so we can make new cushion covers. We originally wanted to do grey but didn't like how it looked. 


Using the extra fabric from my quilt


Some ideas I have - new covers for the pillows we have in the living room and coasters.

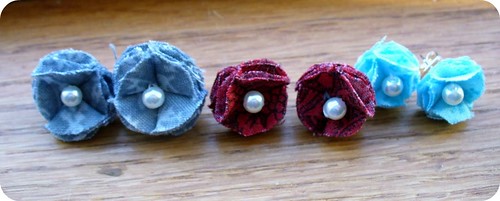
I found instructions for making cute fabric earrings and tried them out.


I don't love the way they turned out so I am currently trying to make them nicer (and easier to make). I'll post a tutorial once I figure it out.


Saturday, January 2, 2010

Green Craft: Reusable Coffee Filter

I finished using the last box of coffee filters that I had and decided I wasn't going to buy more. Instead, I wanted to make a cloth filter that would be reusable. I had canvas material already in my craft supply so I used that.


First I figured out the size I needed for the bottom of my coffee filter by using the a coffee filter - I accidentally used the last one I had so I had to get one from a friend :-).

The next part was kind of tricky - I had to draw an arc that was the same length as the circumference of the base circle and I added 1/4 inch to each side for the seam allowance.

If anyone is interested I can make a PDF of the pattern so you don't have to go through the trouble of figuring out the sizing. :-)

Here is the template I made on thick paper.

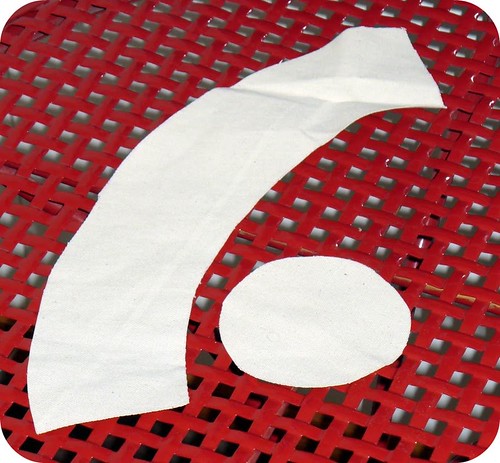
I traced the template onto the fabric and cut out the pieces.

The cut out fabric.

I folded over the edge (1/4 inch) of the upper part and pinned it into place.

I sewed around the edge with a basic stitch.


Then I decided to do a zig-zag stitch to help stop fraying around the edge.

I didn't take any photos sewing the upper part to the base circle - I kept poking myself with pins and got distracted. :-)

I can take a photo when I make another one and post it. This part was pretty frustrating and tough but I basically just pinned the upper part around the circle and sewed it together. I used lots of pins and pricked myself a lot. I don't know if you can tell in the following photos but I had made the upper part a little longer than necessary so there would be a small overlap of the edges. I decided I'd rather have an overlap and room for error than cut it too short and have to start over. :-)

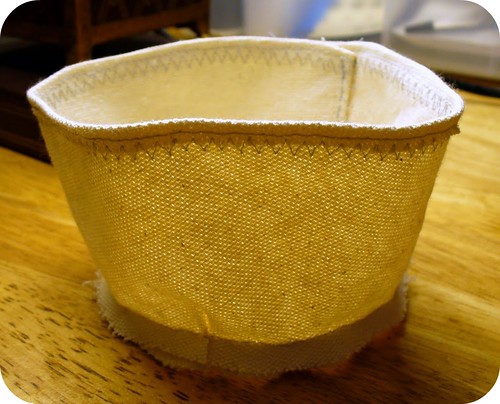
Here is the final piece inside out (I trimmed the edges at the bottom after taking this photo).

Here is it finished!

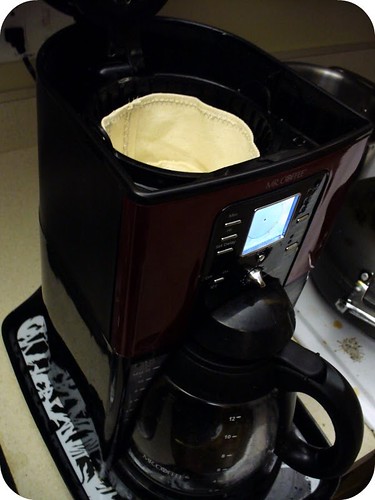
It fit perfectly in my coffee maker!


While making this I came up with an idea for a pattern that might be easier to sew - I'll post about that when I get a chance to work on it.

I plan on making a few more of these so that I can have one to use when one is in the wash - I make a lot of coffee and don't want to risk not having a clean filter. :-)

Since the fabric had been pre-washed I tested it out and it made a perfect pot of coffee. If you make one just make sure to take it out, rinse it and let it dry when the coffee is done so it doesn't sit wet in your coffee machine.

Supplies: Sewing machine, old coffee filter (for measurement), thick paper (for the pattern), pencil, fabric marker, compass, thread, canvas fabric.
Cost: $0 (I already had all of the supplies)

Friday, January 1, 2010

Antiquing

Antiquing in Stillwater

On Thursday a friend and I went antiquing at Midtown Antiques in Stillwater, MN. It was fun just walking around and looking at stuff. The store was pretty big and the shelves were packed with stuff. We found some pretty interesting things...with some pretty big price tags.

The only purchase that I made was to buy two tiny glass jars. They'll go perfect in my living room that is accented in red and blue.

The jars.
Blue - horse, horseshoe. Red - girl.
 

After the antique shop we went to the Freight House for lunch.  I had margherita pizza and sweet potato fries. The fries were amazing - I definitely recommend them!

LinkWithin

Related Posts Plugin for WordPress, Blogger...