
I really wanted a painting of a tree somewhere in our house. I looked at canvases - I planned on doing three tall canvases in a row and painting the outline of a tree. I had no idea how expensive canvases were and wasn't sure that I wanted to spend a lot of money to buy three when I wasn't even sure I could paint a tree on them.
I was at a thrift store and saw this.
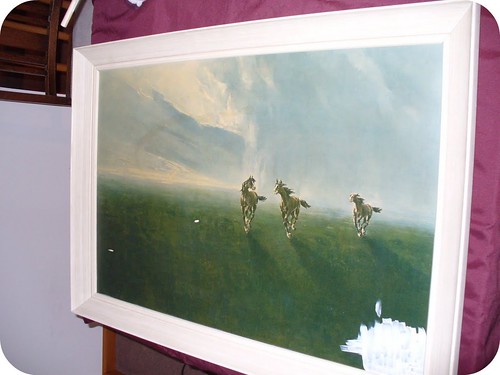
It was only $5.99 (plus I had a coupon for 20% off) so I figured i could buy it, paint over the horses and then paint a tree on it. You can see the paint in the corner when I started painting it.
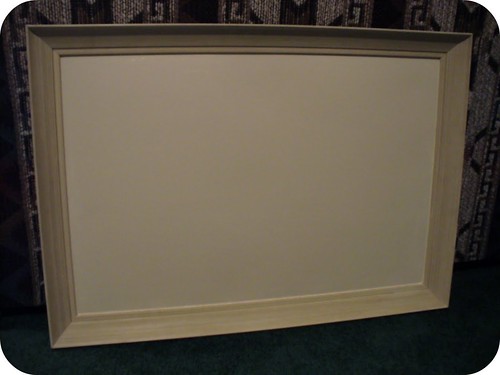
N helped and painted over most of it. It took about 3 layers and more work around the edges. We used rustoleum heirloom white.
After one coat.

The background is finished!
Originally I wanted to do the outline of just one tree and couldn't decide if I wanted to only do part of the branches or the entire tree, centered in the frame. In the end I decided that the frame was too wide to do one tree so I found an image of a few simple trees in a row.
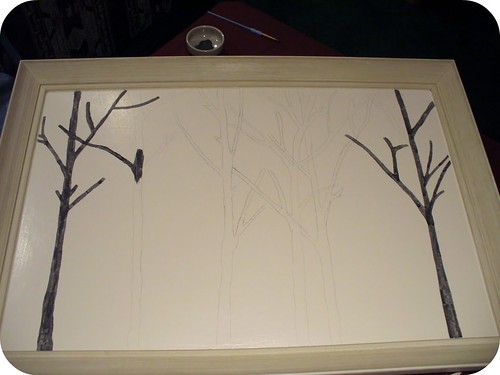
We projected the image onto the frame.

Then N and I traced the outlines of each tree with pencil.
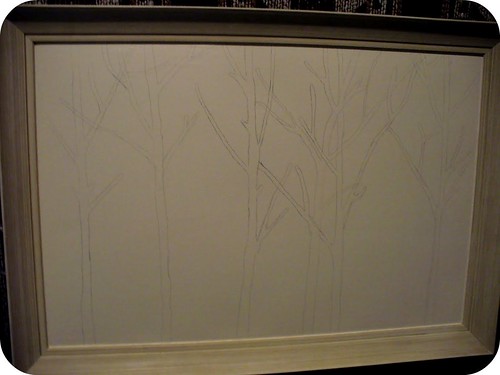
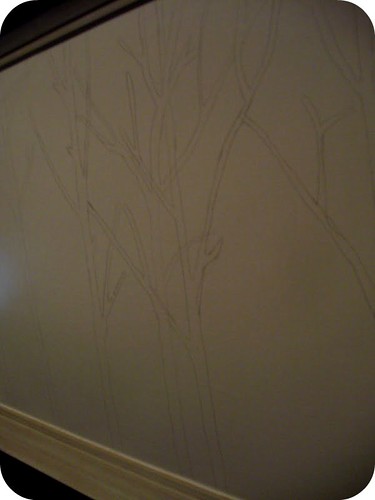
It didn't take very long to trace the trees but it was tricky making sure not to block the projector. We changed a few parts of the trees - removed branches, added branches, etc. Next we painted the trees with delta ceramcoat in charcoal.
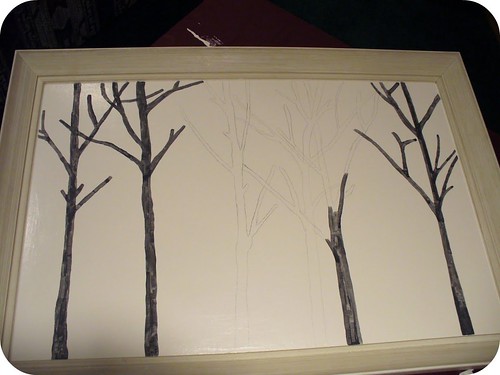
Three layers of grey paint later...
The finished project!

I am very pleased with how it turned out and am excited to see it hung on the wall!
We already had the background paint (rustoleum heirloom white) so we just had to buy the frame/painting ($5.99 plus 20% off = $4.80), the grey paint (delta ceramcoat, charcoal) that was about $2 at Michaels and a few paintbrushes for about $4. Total = $10.80.
We are going to hang this up in our living room - I'll be sure to post a picture of it hung on the wall.
Supplies: Frame, paint brushes, paint, projector
Cost: $10.80
Update: 2/2/10
The tree painting has finally been hung in our living room!


Update: 2/2/10
The tree painting has finally been hung in our living room!
Featured on:

What a fabulous idea ! You are quite the artist, thanks for sharing ! I love the use of Heirloom White !
ReplyDeleteKate
I love this! I think I need to go on a thrift store hunt for something similar... I am in need of some art for my "rec" room!
ReplyDeleteKate - Thanks so much! The heirloom white background will look great in our living room - the furniture is painted heirloom white too.
ReplyDeleteKatie - Definitely check out the thrift store. This was super easy and something anyone can do. Even if you don't have a projector, if you have the skill (and patience) you can hand draw something to paint.
This turned out great- what a creative way to re-use something!
ReplyDeletevery cool!
ReplyDeleteHow creative and just lovely.
ReplyDeleteWOW! What a great idea! Thanks for sharing!
ReplyDeleteCame out great, I am so missing the days when I had easy access to an overhead projector in my classroom!
ReplyDeletei love your trees - they turned out great!
ReplyDeleteVery nice art work !
ReplyDeleteKammy
Saw this linked on One Pretty Thing. What a great idea! It looks like it turned out fabulously. I'm enjoying your other posts, also - thanks for a swell blog!
ReplyDeleteWhat a great idea! The paining seems to sophisticated and chic, thank you for sharing!
ReplyDeleteI like your tree painting - very peaceful.
ReplyDeletethat's pretty cool! the trees are so modern!
ReplyDeleteGreat way to make art for the non-artist (such as myself). Love the way it turned out!
ReplyDeleteI've put together a round up of great wall art ieas on Craft Gossip today and included your post. :) You can see it here
ReplyDeletehttp://homeandgarden.craftgossip.com/25-awesome-wall-art-ideas/
If you would like a Craft Gossip badge showing you've been featured, you can grab one here :)
http://homeandgarden.craftgossip.com/grab-a-craft-gossip-button/