
This is my first try at making a coaster. I'm going to use this one in my craft room and try to make a nicer set to go in our living room later.

Supplies: Leftover fabric and batting from quilt, sewing machine, something to cut and measure material/batting.
Cost: $0 (I already had all of the supplies)
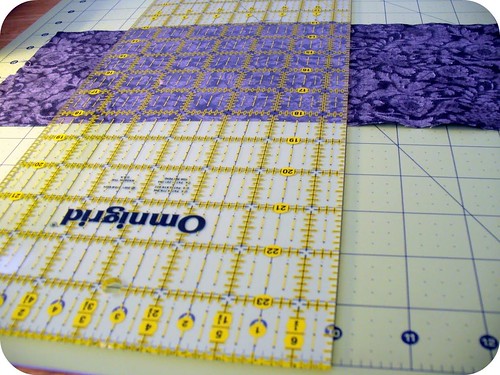
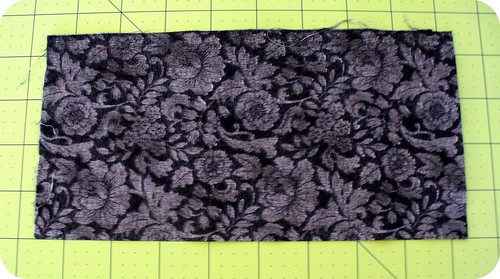
I cut the fabric into a 10'' by 4 1/2'' piece.
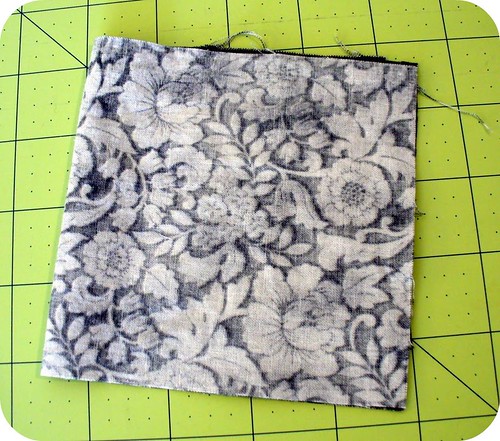
I folded it over - right sides facing each other.
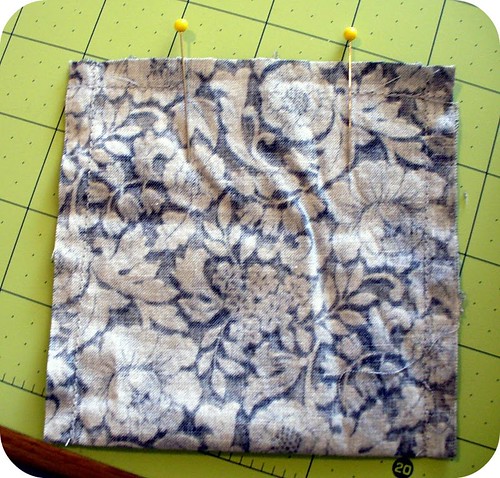
Then I sewed around the edges, leaving a space for me to flip it right-side out. I sewed 1/4'' away from the edge. The space between the pins is the area I left open to turn it right-side out.
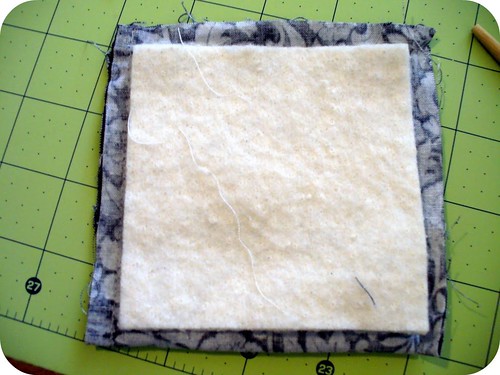
I cut a piece of batting to fit. I first cut the piece to be 4'' by 4'' but had to trim it down a little bit.

I flipped the material right-side out. To get the corners popped out all of the way I used a chopstick - chopsticks work great for this.

Then I put the batting inside and made sure it was flat and reached each corner. The chop stick was helpful for this as well.
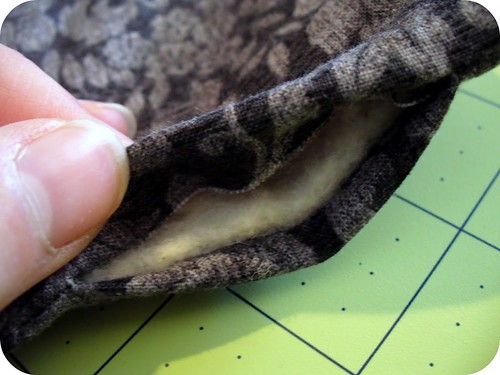
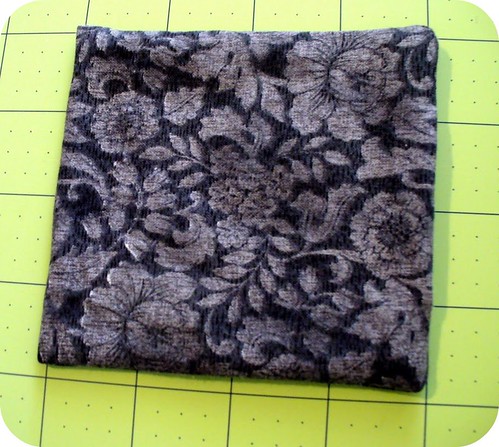
Next I tucked the extra material in on the part that was left open. Instead of hand sewing this shut I just sewed along the edges of the entire coaster and this closed the seam. Just make sure to sew close enough to the edge.
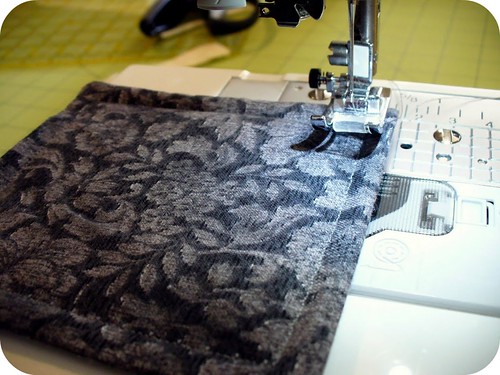
After I was finished sewing it together I decided it might look neat to quilt the top of it. I ended up making a pattern of triangles. The picture isn't the best but you can kind of see the light coloured thread that I used to quilt it.

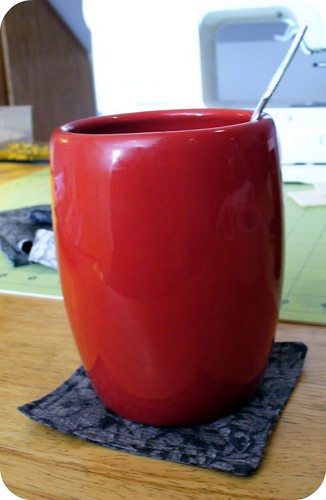
Here is a photo of the finished coaster in action:
Oooh! THis is great! I have so many left over scraps that I never know what to do with. I'm going to check my scraps and see if I have the right size to pull this off. Thanks!
ReplyDeleteI like this! Great way to use the extra quilting material we bought :-)
ReplyDelete