In the past we've bought small bags of crackers or pretzels at Costco to bring for lunch. The little bags end up in the trash and ends up producing a lot of garbage. So, in my quest to be more environmentally friendly, I've put a stop to that. We are going to buy big bags/boxes of crackers/pretzels and put them in reusable bags.
Last night I made a reusable cloth bag. I'm going to make more in various sizes so we have plenty of snack bags to use and won't need to buy individual snack bags.
I had a pillow case that we were going to get rid of - someone a pen exploded on it and it had a big blue spot on one end. Ruined pillow case = cloth snack bag. :-) I used a hair binder and a button that I already had. I did not have to buy anything for this project - I love crafts like that.
Cloth snack bag tutorial.
Supplies: fabric, button, hair binder, thread
Cost: $0 (I already had everything)
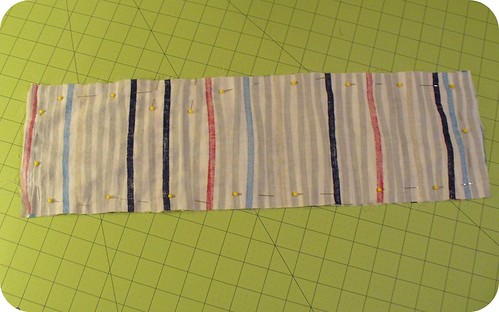
I cut two pieces of material 20'' by 6.5'' and pinned them together - right sides facing each other.
I sewed around the edges (1/4'' seam allowance) and made sure to leave a hole to turn it right-side out.
When I finished sewing I trimmed the corners.
Then I flipped the bag right-side out using the hole that I left open.
I used my handy chopstick to make sure the corners were pushed out all of the way.
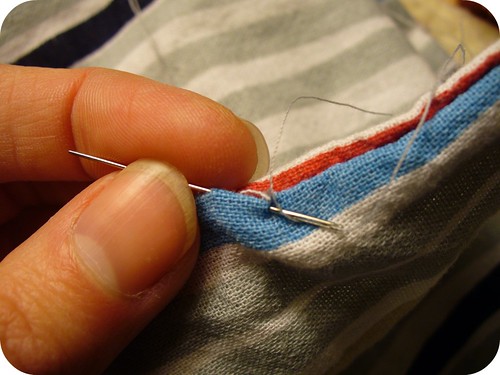
I closed the open part up with a slip stitch. I used this video to learn how to do the slip stitch.
All sewn up.
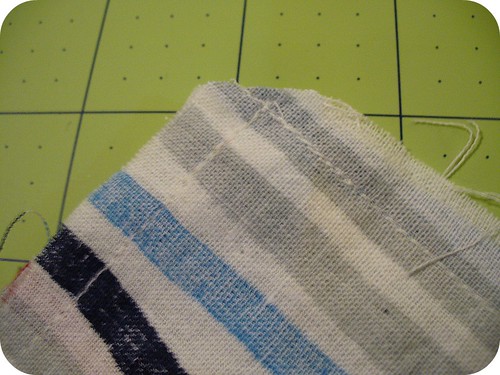
Next I took one end and pushed it through to the other end...explaining things like this is not my forte so bear with me. :-\ Lay the piece flat. Take the top edge. Pull the two pieces of material away from each other on the body of the bag and push the top edge down so that it goes into the bag and meets up with the bottom edge. Basically I made it so that I had a pocket with a lining - the lining and outside were both the right sides of the fabric and it looked like this. Does that make sense..?
To keep the two layers together (and because I like how it looked) I sewed around the three edges (but not the opening at the top).
It looked like this.
Next I took my button and hair binder and figured out where I wanted to put them.
I rolled down the top edge as far as I wanted it to go and then pinned on the hair binder. I pinned the button in place so that it would match up with the hair binder.
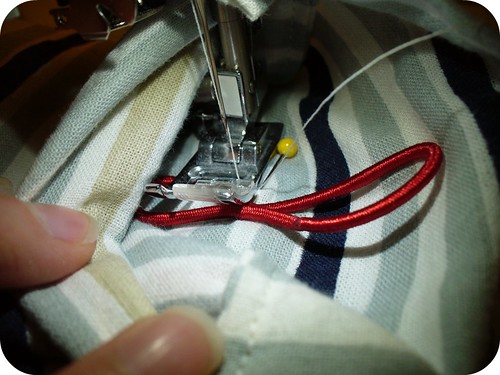
Then, I sewed the hair binder in place.
I tried a few stitches - I did a regular stitch and a zig-zag stitch. I didn't care how it looked, I just wanted the hair binder to stay.
To hide the ugly stitching I cut another piece of fabric, just big enough to cover the bottom half of the hair binder. I folded the edges over 1/4'' and ironed them down. Then I pinned it in place and sewed it on.
I sewed a zig-zag stitch around the edges.
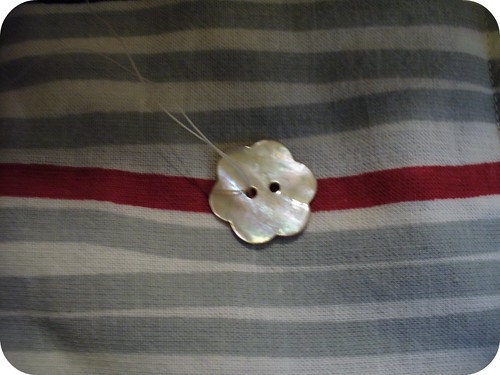
Next I sewed on the button.
All done!
I filled it up with wheat thins to bring to lunch.
It turned out great and I've been using it for lunch. I plan on making a few more in various sizes for different snacks.










Neat tutorial. I bring dry cereal to work everyday to munch on for my breakfast. I have been thinking of making some of these so I can quit wasting all the plastic baggies I am using.
ReplyDeleteIt's been working great so I definitely recommend making one. Let me know how it turns out!
ReplyDeleteI just linked this project to my blog. This was seriously the most creative green idea I've ever come across! I had trouble with giving up baggies simply because of lunch, we don't use them for anything else. Thanks to this amazing idea, we will be able to get rid of them once an for all! I really appreciate your creativity, and your sharing it with everyone!!
ReplyDeleteThanks Girl Friday! I love how the bag turn turned out and am glad I'm inspiring others to make one. :-)
ReplyDeletegreat idea !!
ReplyDeleteI love them ^^
this is SO cool Jessika! i want to make one with my scrap fabric. i love that it's easily washable! you could probably by some washable vinyl to make leak resistant ones too just by adding a layer of that in there.
ReplyDeleteI just love those...I may have to make them for my working sisters...they would love them too...thanks for sharing!
ReplyDeleteFun idea! Thanks for sharing!!
ReplyDeleteThat is a great green idea!
ReplyDelete*sigh* Wheat Thins, oh how I love thee :)
Thats downright precious and earth friendly! I LOVE THOSE!!!!! Thanks for linking up to Thrifty Thursday this week!
ReplyDeleteHugs,
Leigh
Tales from Bloggeritaville
www.lbratina.blogspot.com